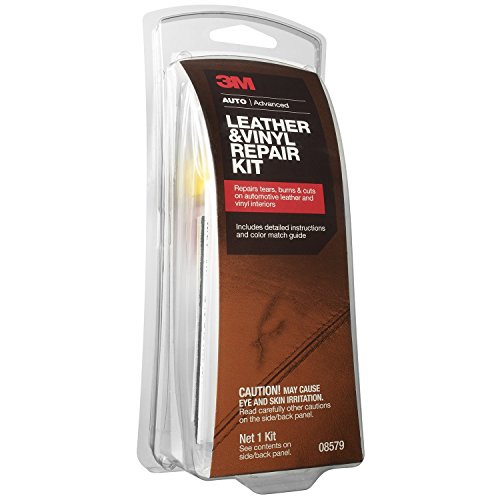
The 3M Leather and Vinyl Repair Kit patches and repairs upholstery damages such as tears, burns, and cuts in vinyl and leather. A variety of colors and grain papers designed to match surrounding materials makes repairs blend in with existing vinyl or leather. A color matching guide helps determine the correct color to match the damaged surface. With the complete directions that are included in the kit, you can achieve a quality result without the cost or expertise of a professional.
The 3M Leather and Vinyl Repair Kit repairs everything from cigarette burns to tears in a variety of surfaces including:
- Car seats and upholstery
- Dashboards
- Motorcycle seats
- Vinyl tops
- Marine and RV upholstery
- Golf bags, handbags, briefcases, and luggage
- Furniture
- Footwear, belts, and other leather goods
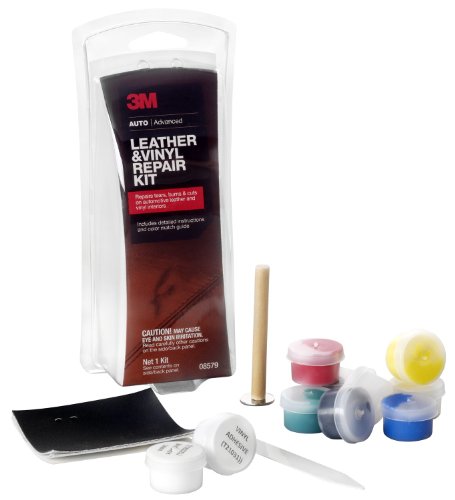
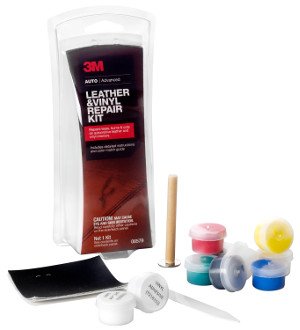
This leather and vinyl repair kit includes replacement backing fabric, seven colored intermixable repair compounds (red, blue, green, yellow, white, brown, black), assorted textured grain papers (coarse to smooth patterns), mixing cups, vinyl swatch for testing, vinyl adhesive, applicator tool, and a heat transfer tool.
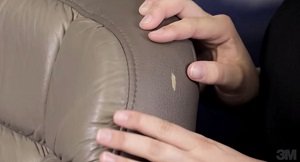
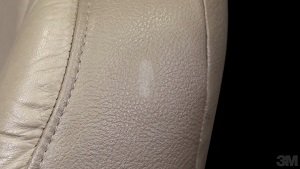
Cuts, tears, or burns in leather or vinyl surfaces damage appearance and can lower value or require replacement. This vinyl and leather repair kit allows you to repair the damage without the high cost of professional services. The detailed directions for use guide you through the process from cleaning and prepping the damaged area through to curing the color compound with the heat transfer tool and grain paper.
Easy to Use
The 3M Leather and Vinyl Repair Kit gives you professional-quality results in just a few steps (click here to download a .PDF of detailed instructions):
1: CLEAN AREA: Clean the damaged area using a non-soapy cleaner to remove any dirt or grime from the surface. Carefully trim any frayed, excess threads, or charred material (if burn damage) with razor or knife.
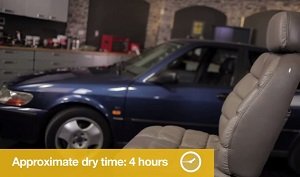
2: BACKING FABRIC: Note: For repairs greater than 0.25 inches, use backing fabric. (Cuts, burns or holes that are less than 0.25 inches do not require cloth backing fabric). Cut the enclosed fabric slightly larger than the damage. Use the spatula to insert the fabric into and under the damage. This will provide support for the repair compound. Use the vinyl adhesive to glue the backing fabric in place. Important: Adhesive requires a four hour dry time. Note: For rips and tears, apply the vinyl adhesive under both edges and the center to hold backing fabric in place.
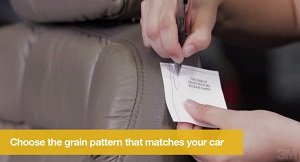
3: SELECT GRAIN PAPER: Enclosed are three grain paper patterns. Select the grain paper closest to that of your damaged leather/vinyl. On the top center of the grain paper, draw an outline of the damaged area. This will allow you to position the heat transfer tool accurately over the repair compound in step 7.
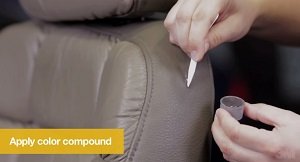
4: FILL DAMAGE: For deep damages (for example in a vinyl dashboard), use the spatula to apply small amounts of the vinyl adhesive into the damaged area until the surface is level. Important: Adhesive requires a four hour dry time. The vinyl adhesive will shrink slightly as it dries, leaving a void. This will be filled in with the color repair compound.
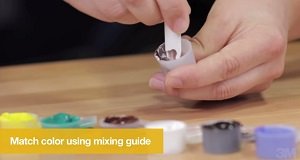
5: MATCH COLOR: Using the color match guide and the empty mixing cup, mix very small amounts of compound to obtain the desired color needed. Note: White will lighten colors; yellow will brighten colors; black and brown will darken colors; brown can be made using red as the base and adding black and yellow. Use the practice vinyl and your color match compound in order to compare it to your color vinyl or leather.
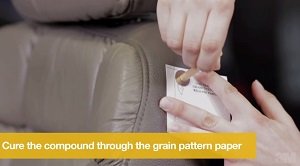
6: PLACE GRAIN PAPER ON REPAIR: Place the grain paper over the un-dried color repair compound, making sure your drawn outline is directly over the damaged area. Do not move it. If repair is on a vertical surface, tape the grain paper down.
7: HEAT CURE: Plug in a hot iron and allow it four minutes to heat up on high setting (to approximately 300F). Place the metal tip of the heat transfer tool directly on the iron and allow several minutes to heat the tool. After the tool is heated, place the hot metal tip immediately on the grain paper over the drawn outline of the damage. Rotate the heat tool on the grain paper outline in a circular motion for 35-45 seconds. Reheat the tool and repeat this process until the color compound has cured and separates cleanly from the grain paper.
What’s in the Box?
3M heat cure repair color compounds (black, brown, red, yellow, green, blue, and white, 1/8 fl oz/3.7 ml each), 2 vinyl adhesives (1/8 fl oz/3.7 ml each), backing fabric piece, 3 grain papers, practice vinyl piece, mixing spatula, empty mixing cup, heat transfer tool, color match guide, complete step-by-step directions.
About 3M
A recognized leader in research and development, 3M produces thousands of innovative products for dozens of diverse markets. 3M’s core strength is applying its more than 40 distinct technology platforms–often in combination–to a wide array of customer needs.
Leather & Vinyl Repair Kit
Repairs Rips, Burns, & Tears In Leather & Vinyl
Detailed Color Match Guide & Instructions
Reviews
There are no reviews yet.