
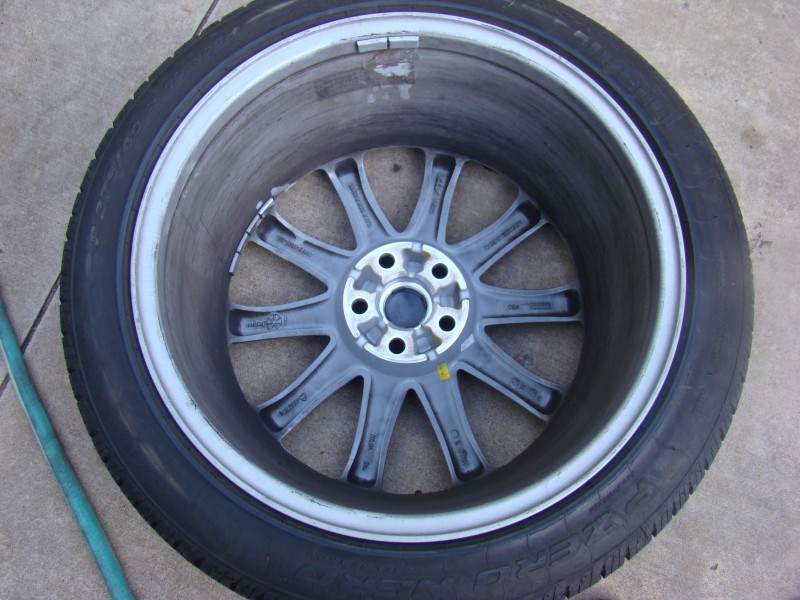
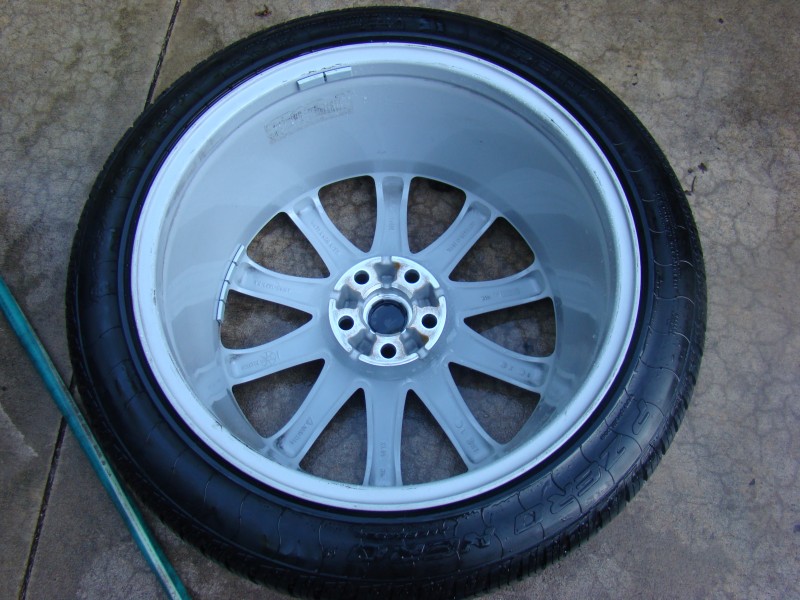
I recently upgraded from the stock 18″ wheels (Jaguar Rapier) on our 2005 Vanden Plas to 19″ wheels (Jaguar Aleutian) from a 2014 Jaguar XJ. I wasn’t a big fan of the looks of the Rapier wheels and they were a pain in the ass to clean with all the “spokes”. We needed new tires anyway and I was able to find some wheels that thought would look great on our Jaguar with brand new tires for a reasonable price. The front wheels have the same 49 mm offset as the originals so I wasn’t worried about fitment there but I was a bit concerned about the 46 mm offset on the rear wheels. I did some research online and found others who had installed the same size rear wheel (10.0 x 19 x 46mm) without issue. They did note that the clearance on the rear was minimal but appeared to be enough.
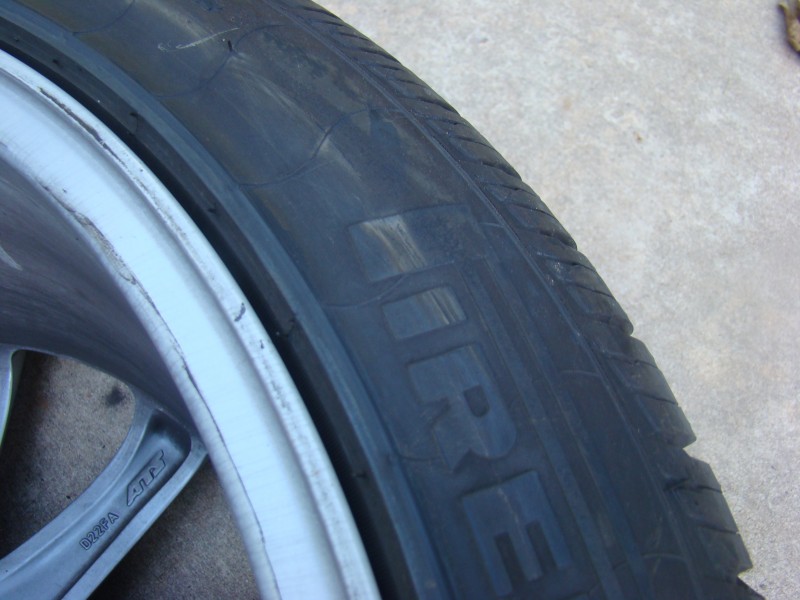
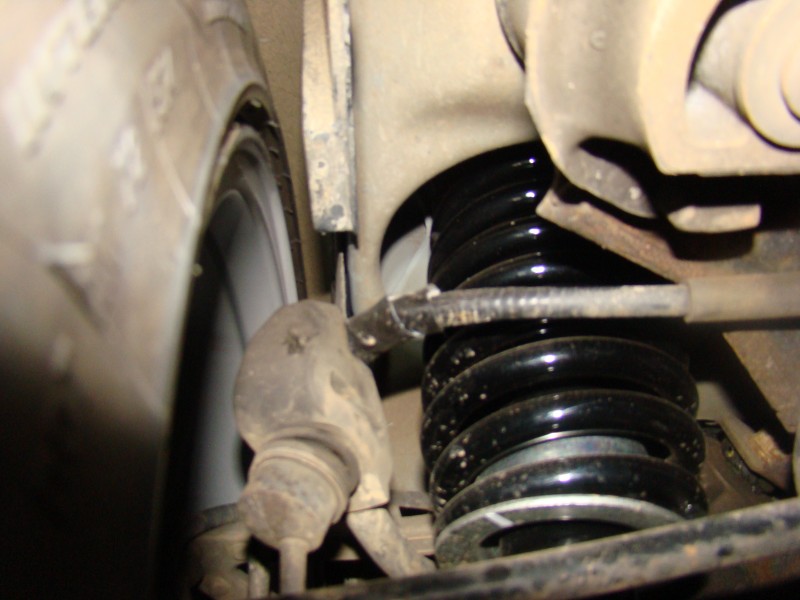
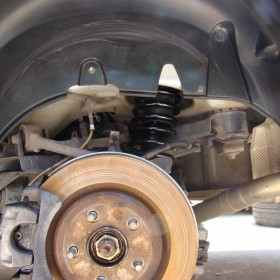
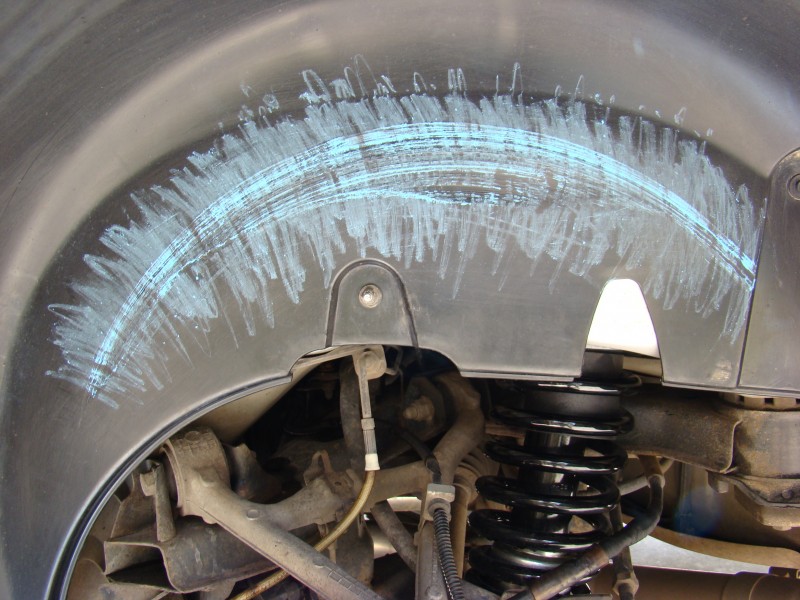
I’ll be adding a write-up later with before and after photos of the wheel and lug nut upgrade but I’m skipping over that part for the purposes of this post. It had been about 800 miles since I changed the wheels and everything seemed okay, I wasn’t hearing any rubbing and my wife wasn’t reporting anything (although I’ve found counting on her to notice automotive issues isn’t always the best bet 🙂 ). I decided to take a peek at to see if I could see any evidence of rubbing on the fender liner or the inside of the rear tires since I knew it was such a tight fit. I did a quick inspection with the wheels on and I could tell there was certainly more than a little rubbing going on. It didn’t appear to be a constant rubbing but most likely when hitting dips in the road, taking corners, etc. I removed the wheels to get a better look at the extent of the rubbing.
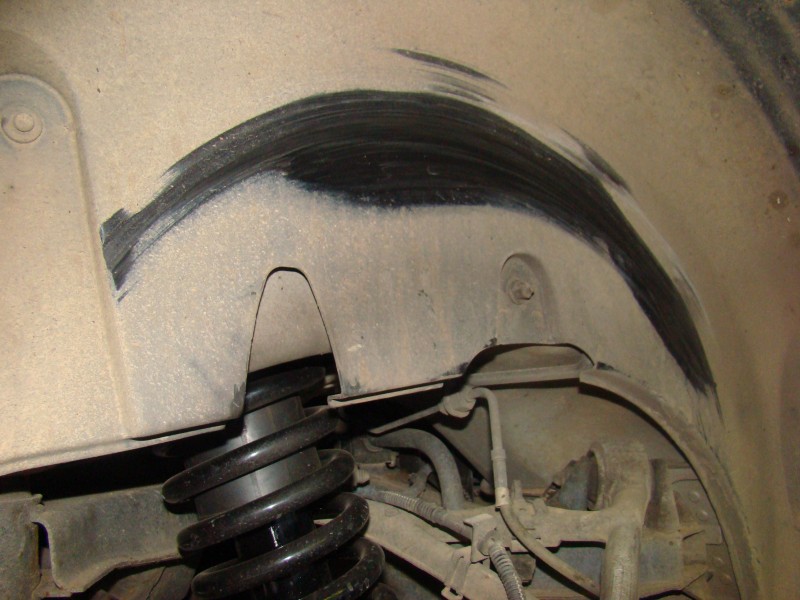
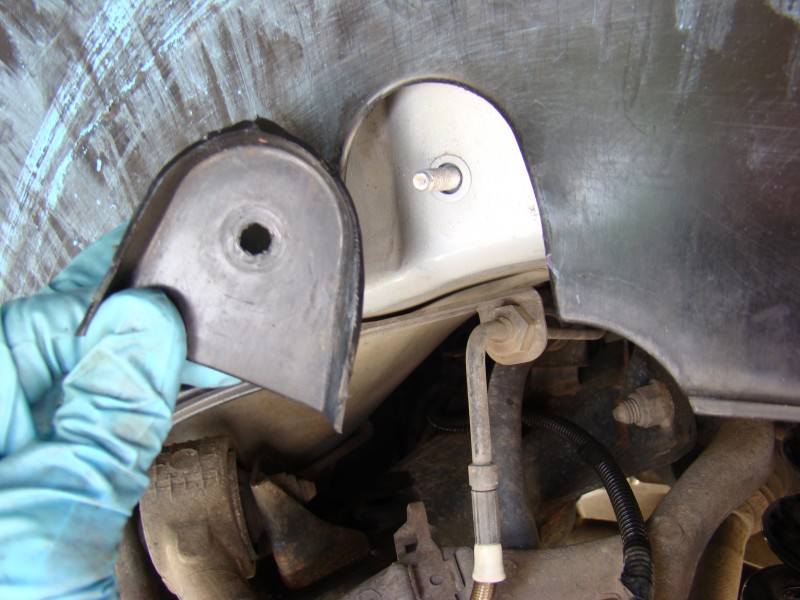
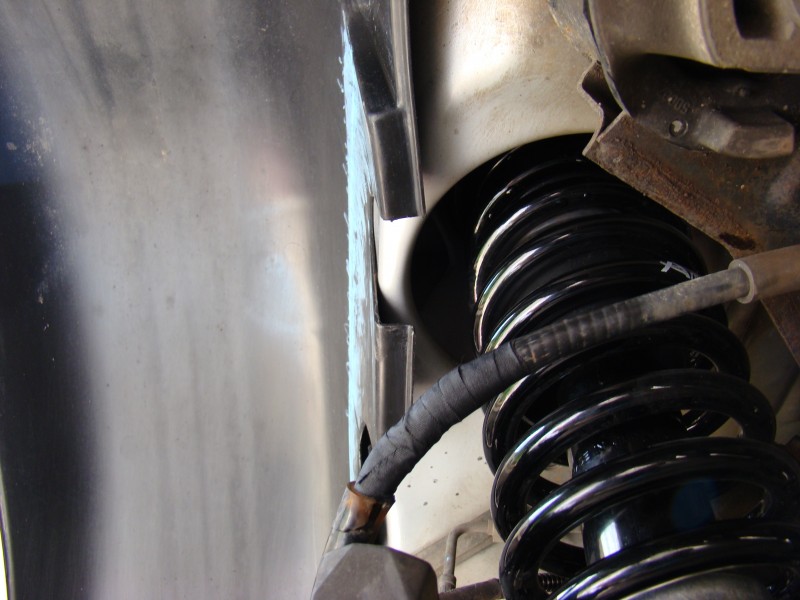
Yikes! This was certainly not ideal so I needed to figure something out. It didn’t seem to be doing too much damage to the tires but this wasn’t a situation that I wanted to ignore. It appeared that it might eventually wear completely through the liner. I removed the 10mm nut holding the bottom of the liner in place so that I could see what the situation behind there was. I found that behind the liner there was some thin foam covered in plastic which I assume is to help with road noise.

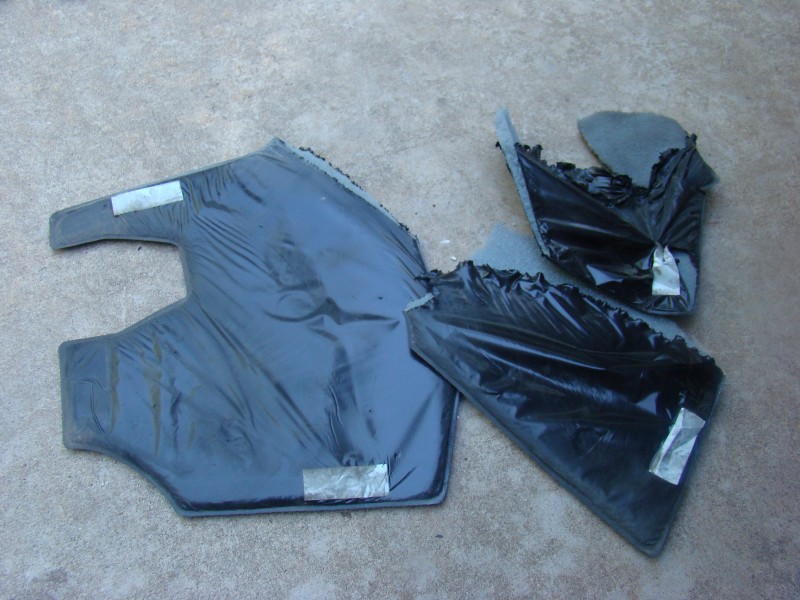
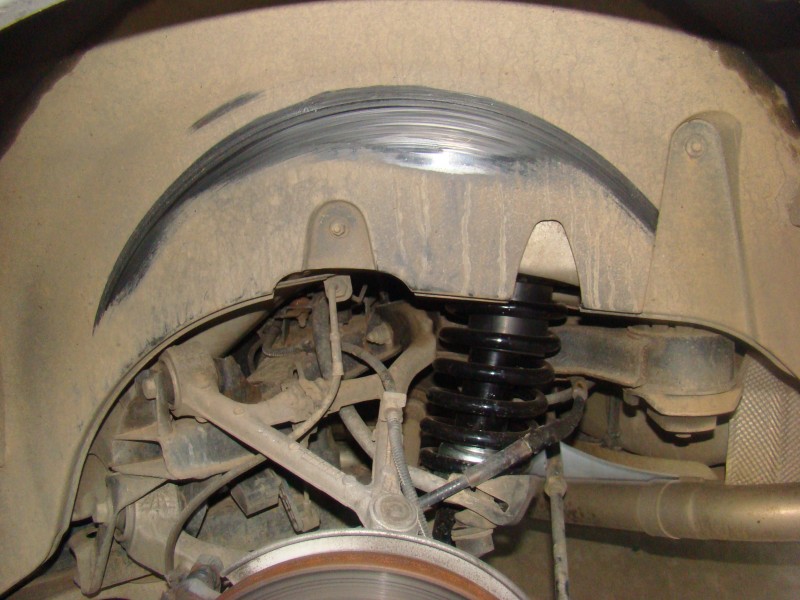
As you can see I decided to remove the insulation in hopes to get the fender liner a little further away from the rear wheel. I was able to use some double-sided foam tape that I had lying around and get it to stay after cleaning as much dust and debris from behind the liner that I could. I don’t think the double-sided tape that I had was the good stuff so I plan to order some 3M molding tape and go back later with something to clean the surfaces well and replace tape just to ensure the liner is out-of-the-way to stay. I rushed this job a bit more than I’d like to because even though it was later in the evening it was still 90 degrees and even hotter lying down on the driveway!
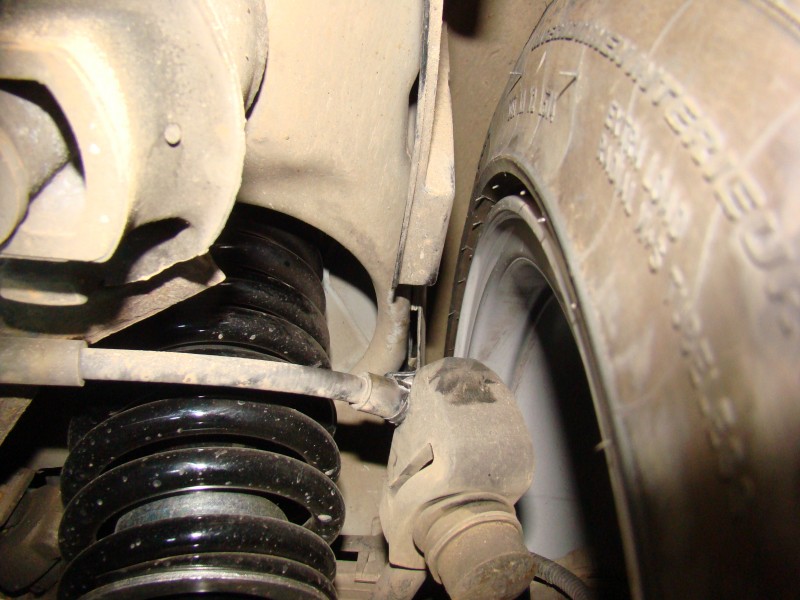
My tape job seems to be holding up okay at this time and I will continue to check for more rubbing. I forgot to take a lot of “before” photos when I started this project but hopefully the below picture will show the improved clearance after removing the foam insulation and adding the double-sided tape.

Other fun from this project. Anytime that I have the wheels off I like to give them a good scrub down to prevent build up that will be harder to get off the longer it is left. This wheel was brand new 800 miles ago so I’m going to change the brake pads on the rear with some that will put off less dust!
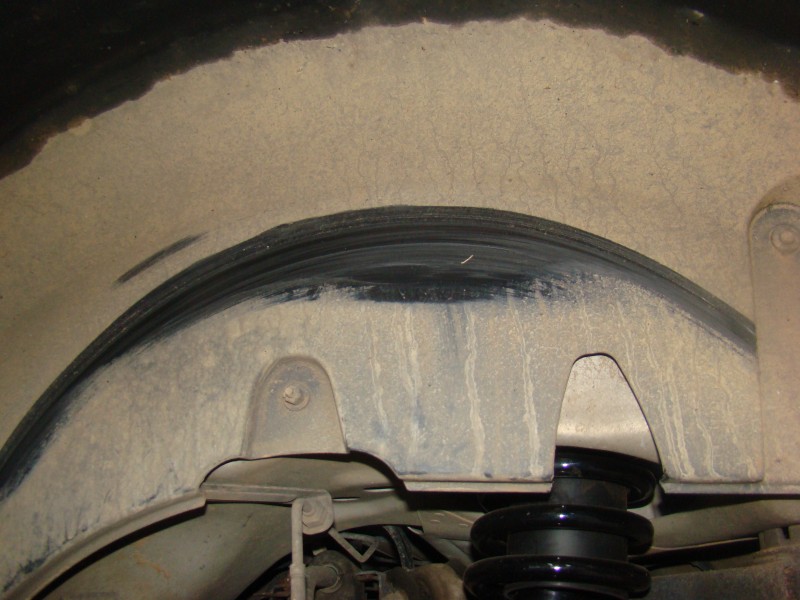
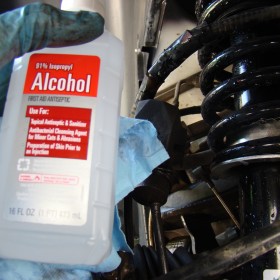
July 7, 2015 Update: I had the left rear wheel off to change the brake pads and I noticed that my double-sided tape had come loose. I decided to shore up the tape job with the 3M tape that I purchased and made sure to clean the surface area with rubbing alcohol beforehand this time.
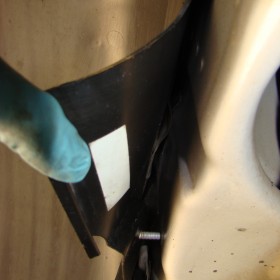
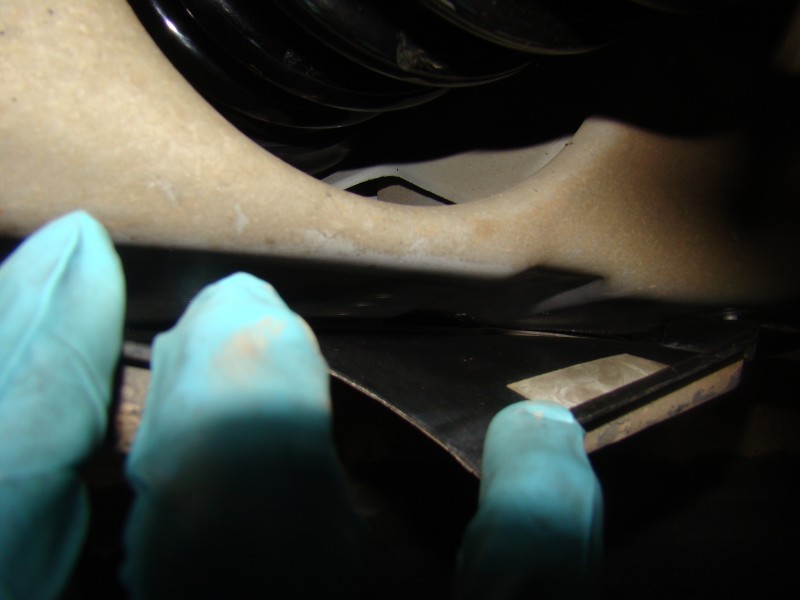
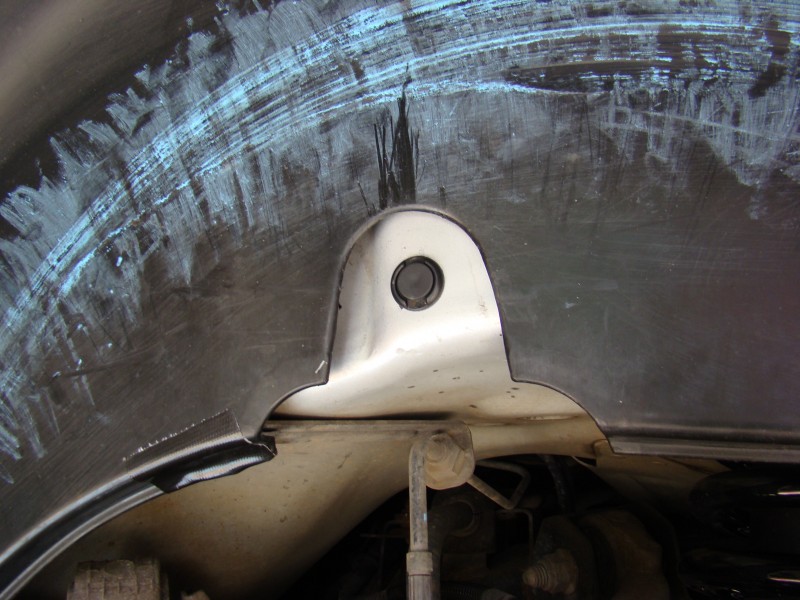
As you can see I also washed down the fender well with some cleaner, water and a scrub brush. Once I had everything taped down I didn’t really like the way the fender liner stuck out further by the mounting bolt. I also didn’t like how close that bolt was to the inside of the wheel and could see bad things possibly happening if I left it. I decided to take a razor-blade and cut out that section of the liner and remove the bolt as well. You can see in these photos that I took some sidewalk chalk and marked up liner so that I can hopefully tell better when I check later if the tire is still rubbing. This plan will be for not if it rains though!
Updated: