This time of year I like to take a little time to change the cabin filters on our vehicles. Most manufacturers recommend to replace them around 15,000 miles which is about how many miles we drive our cars in a year. If you have to drive your car on a dusty gravel road often then you might want to consider changing it a couple of times a year.
Products Used
Quick Steps
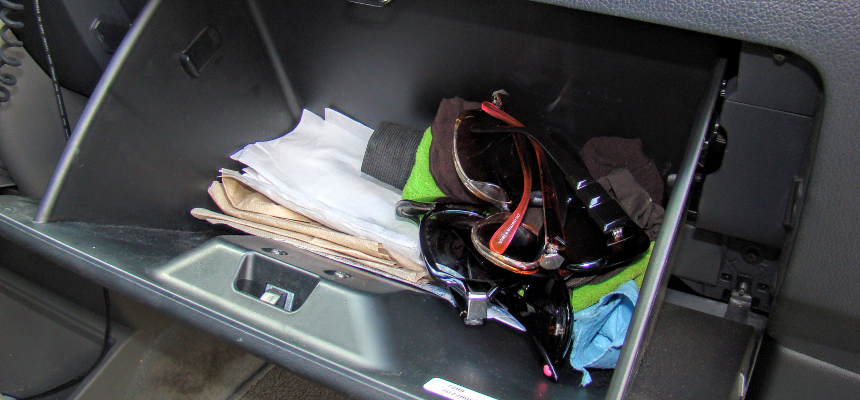
- Open the glove compartment
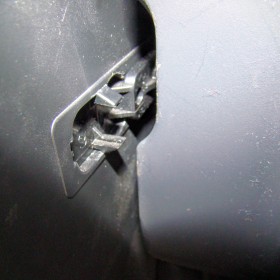
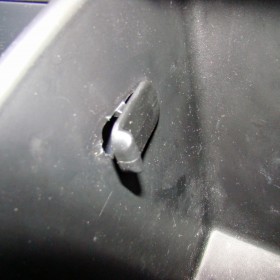
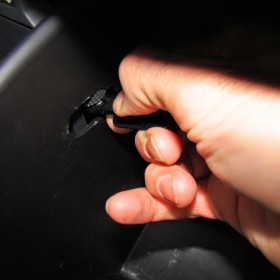
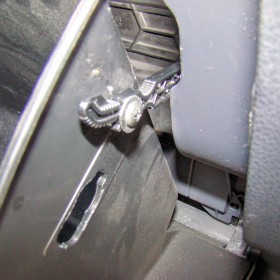
- Remove the stop retainers on each side and the slow rod from the right side if equipped
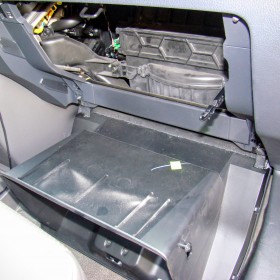
- Lower the glove box out of the way
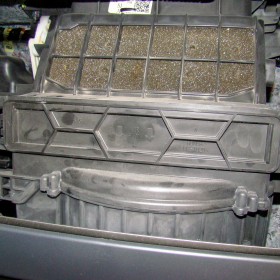
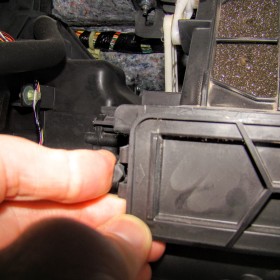
- Find the cabin filter tray and press in on the clips on each side and slide the tray out.
- Remove the dirty filter from the tray
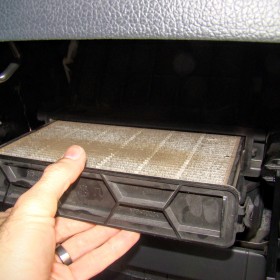
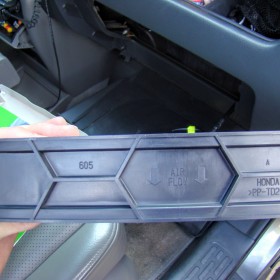
- Install the new filter making sure the air flow arrow is facing downward to match the air flow arrows on the tray. Also make sure that the filter is seated in the tabs on each end.
- Put the tray back in place and reverse the steps to put the glove compartment back in place.
Most vehicles allow relatively easy access behind the glovebox to the cabin filter but I’ve had to deal with some that aren’t that simple. For this post though I’ll be changing the filter on our 2009 Honda Ridgeline which isn’t bad at all.
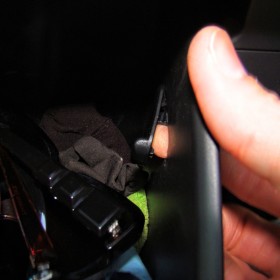
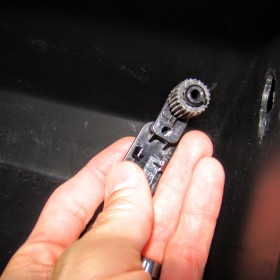
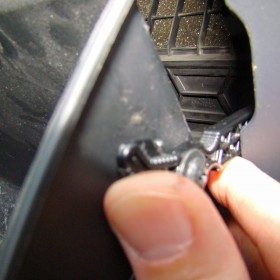
First you’ll want to open the glove compartment and find the stop retainers on either side. You’ll see from the photos how they are held in, they can be easily popped out by pressing the holding tabs down and then you can work them out of the slot. Some versions also have a plastic retainer clipped on the right side that connects to a shock that is there to make the glovebox open slowly. You’ll just need to pop that off while holding on to the glove compartment then lower it out of the way.
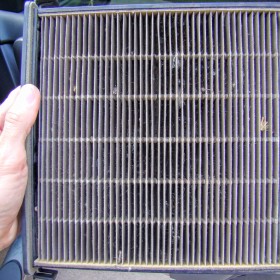
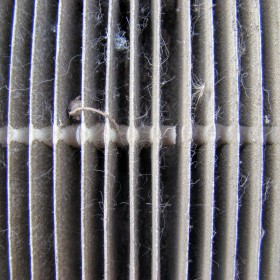
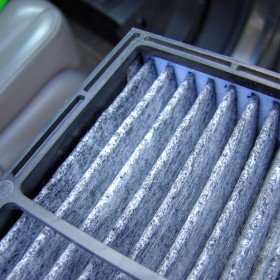
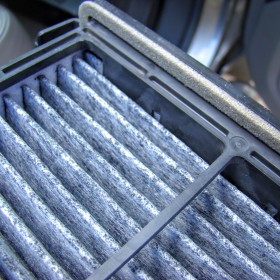
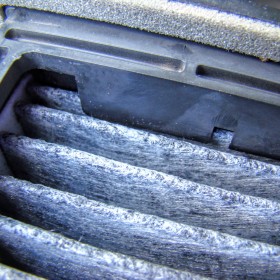
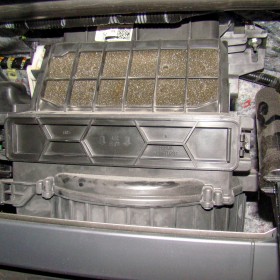
Once you have the glovebox out of the way find the cabin filter tray and remove it by pressing in on the clips that hold it in place on each side. There are arrows on the tray to show you which direction to push in order to release it. You can see from the pictures that our filter was definitely in need of replacing. It always interests me to see all of the debris caught in filters so I probably spend more time digging through there than the average person but feel free to just throw yours away!
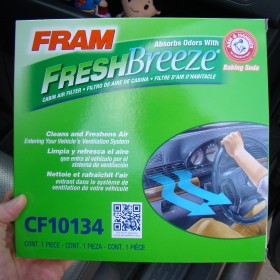
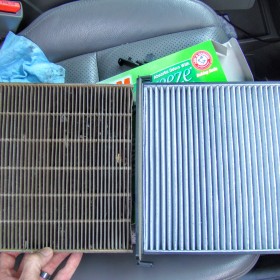
Next you need to simply replace the old filter with the new one. This time I decided to try the Fram FreshBreeze filter to see how it works to clear up some of the musky odors that we usually have in this vehicle. So far I notice that I am certainly getting better smells coming from the AC vents but time will tell how well it does.
I tried to show in the photos how the folds on each end of the filter are seated behind the plastic tabs to allow for a better seal. You’ll want to make sure your filter is seated properly for optimum performance.
At this Point you simply need to slide the tray back in place and then fasten everything back up in the reverse order of how it was removed. Make sure the stop clips on each side are snapped back in place properly and that you reinstall the lowering piston clip if applicable.


1 Comment
Fun follow up on this, I had to take the Honda to the dealer today to have the rear axle seals replaced under warranty. They sent me the usual laundry list of other items I need to address. They found that my 2 1/2 month old cabin filter was dirty and in need of replacement at the bargain cost of only $92.13!